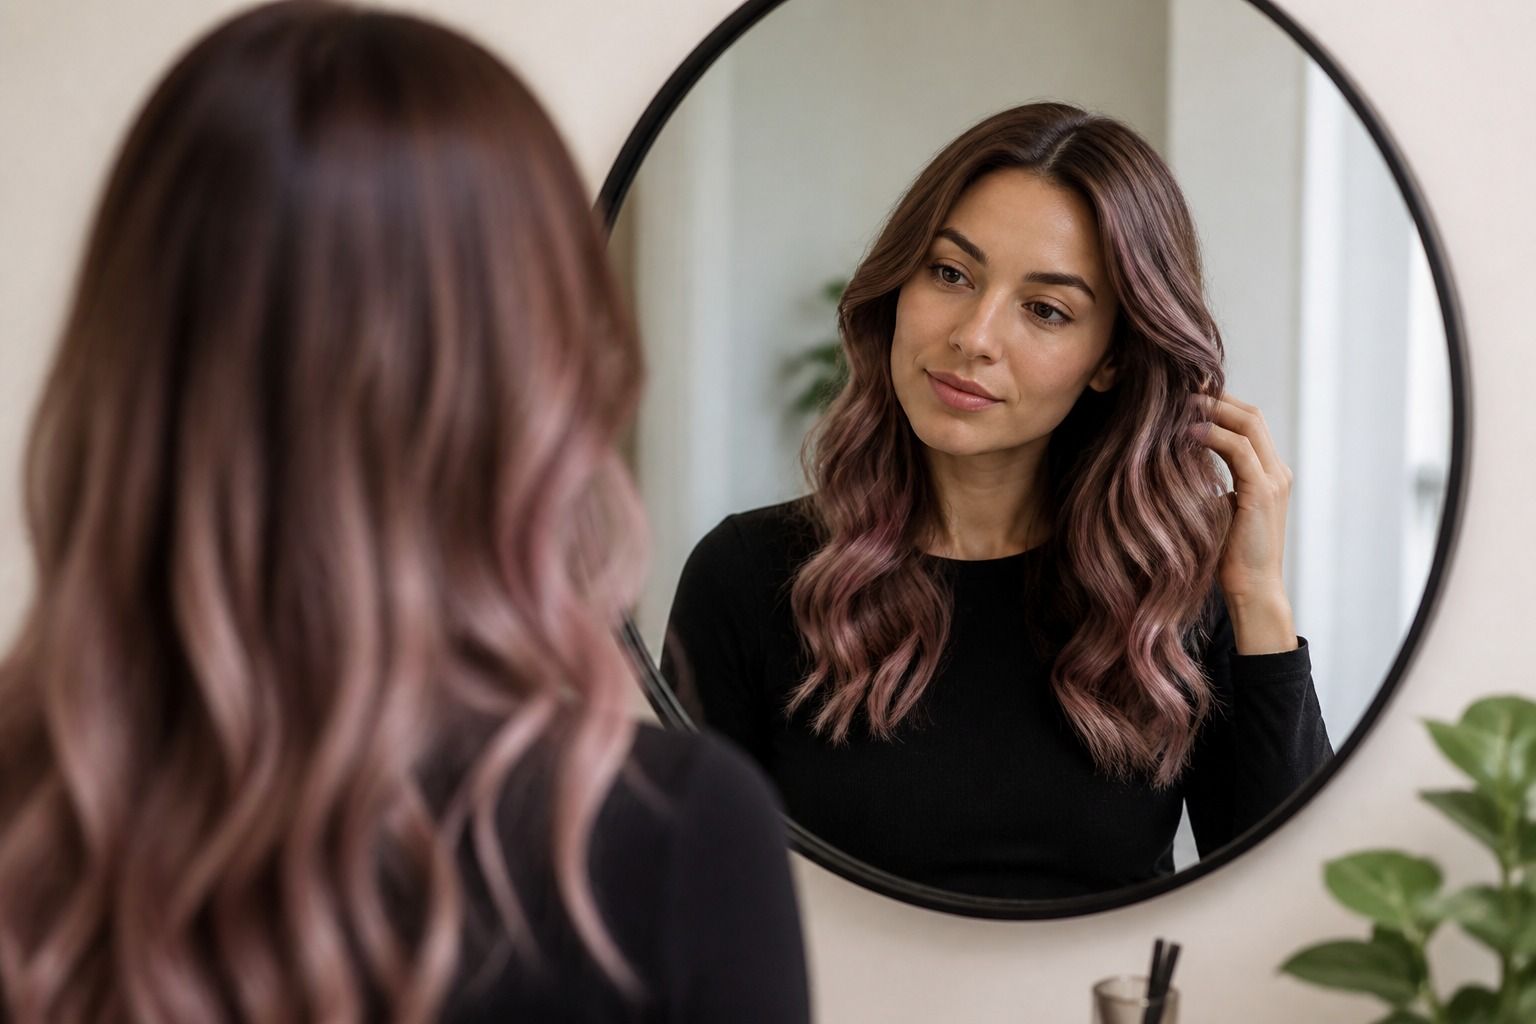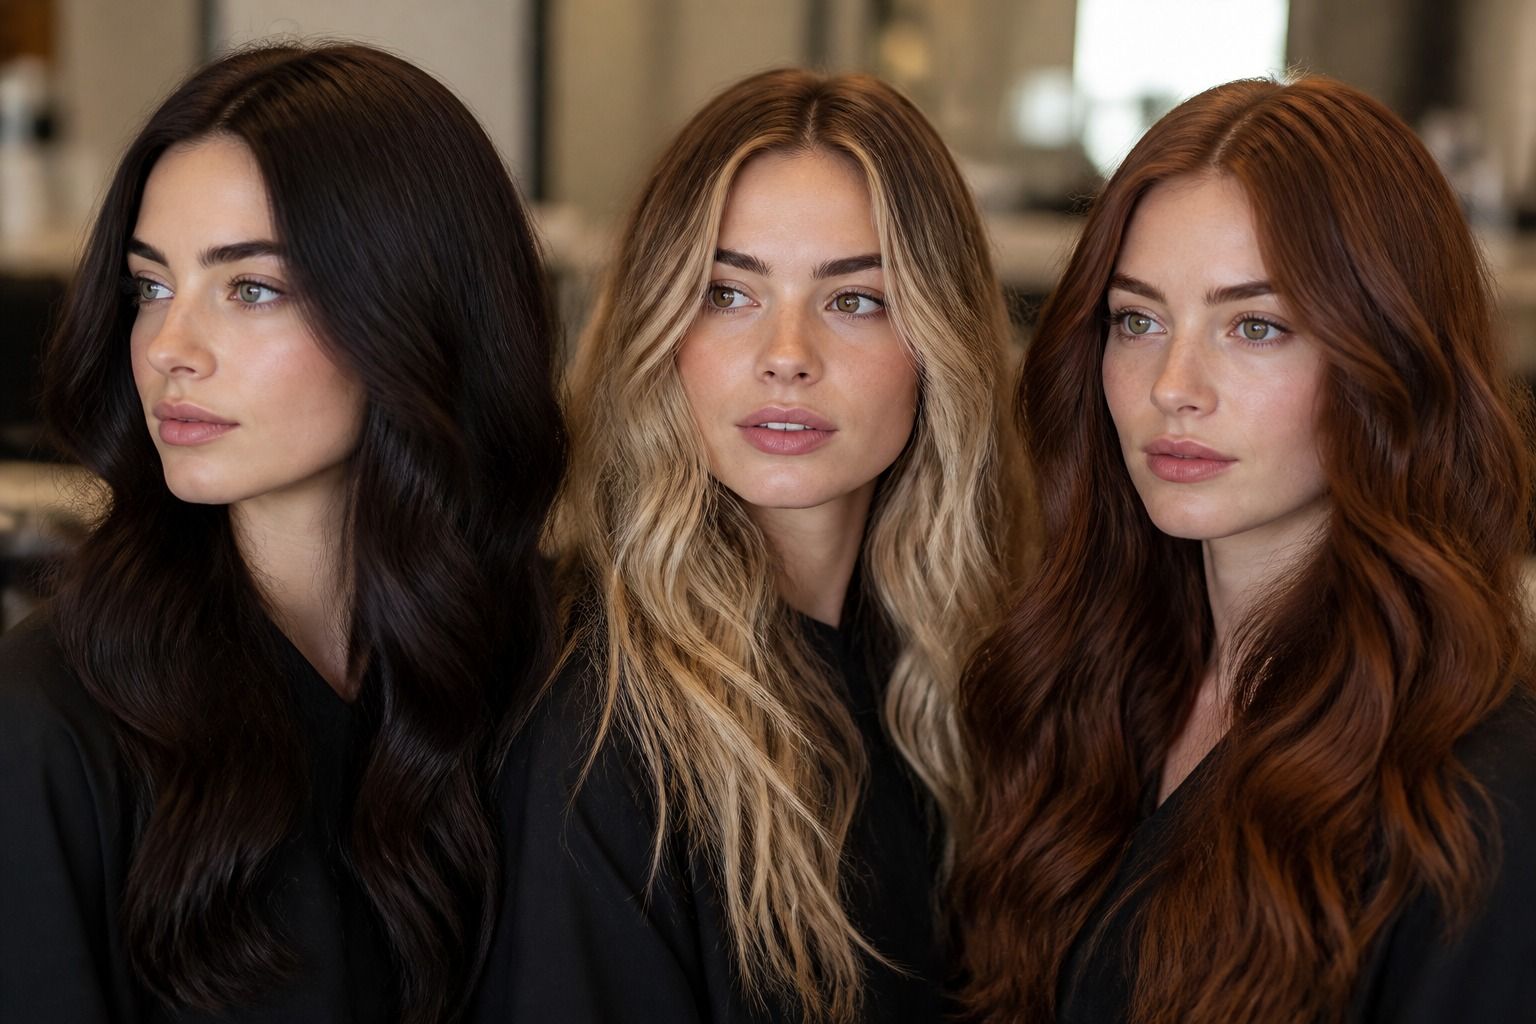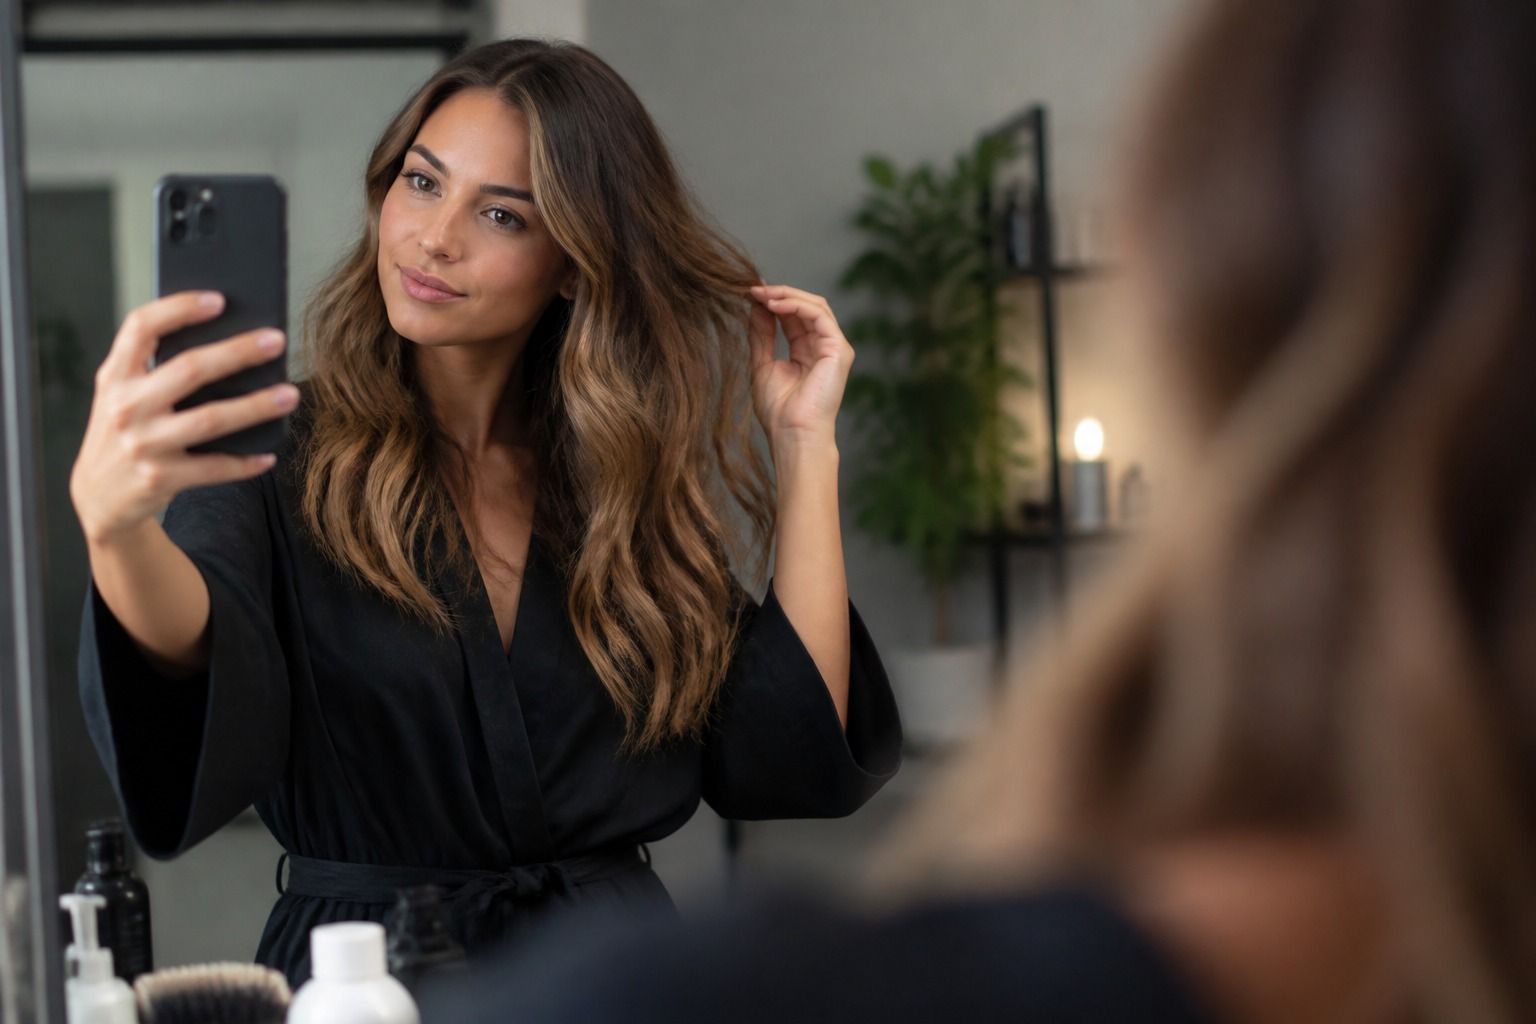
A free virtual hair color try-on is useful when you are hovering between copper, chocolate brown, blonde, or a cooler brunette and cannot picture the change on your own head. It is not a promise of the final shade. Think of it as a quick way to narrow the conversation: which color family feels right, where does the preview look convincing, and which parts would still need a colorist to explain?
Prepare the photo before opening the preview
The quality of the selfie matters more than most people expect. A front-facing camera held at arm's length usually gives a more useful result than a close crop taken from below the chin. Stand near a window with daylight coming from in front of you, not from a bright window behind your head. Mixed bathroom lighting can push brown hair orange, make blonde hair look gray, and give the virtual mask a false starting point.
Take the photo with a calm, neutral expression and keep your shoulders in frame. Heavy filters, portrait blur, beauty mode, and strong makeup can alter the edges that the system uses to find the hair. Pull the hair away from one cheek if it is covering the jaw, but do not flatten it tightly against the scalp. The aim is an ordinary reference photo, not a polished social-media portrait.
Clean, dry hair is easier to read than wet hair or hair covered with oil and styling cream. If your natural color is hidden under a very dark gloss, the preview may treat the surface as a flat block. Take a second photo with the hair loose and the parting visible. Having two honest angles is often more useful than repeatedly trying to improve one dramatic selfie.
Keep the hairline and ends visible
A hair color try-on is strongest where the hair mask follows a clean outline. It becomes less trustworthy around flyaways, loose curls, wispy bangs, and the fine hair near the ears. Leave the hair down for the first pass. A high ponytail may look tidy in a photo, but it removes the lengths you need to judge and can make the result appear more like a colored helmet than hair.
Check the forehead and temples at full size. If the new shade spills onto skin, eyebrows, glasses, or the background, the app has not understood the hairline. That does not always make the whole preview useless, but it does make close questions unreliable. A color that seems perfect in a small thumbnail can look visibly painted on when you inspect the edge above the ear.
Look at the ends as well as the roots. Many previews apply an even layer from scalp to tip, while real hair may have old highlights, porous ends, gray strands, or a faded mids section. If the ends are lighter than the roots, compare the preview against that fact. A cool brown may sit neatly over a darker root in the image and still require a careful fill or a different formula in the salon.
| Photo detail | What a preview may get wrong | Useful note to keep |
|---|---|---|
| Dark roots | It may show a uniform shade from root to tip | Ask whether the root needs lift, blending, or only deposit |
| Curly or flyaway edges | The mask can cut off strands or cover nearby skin | Judge the color family, not every hair at the outline |
| Porous ends | They may look as glossy and even as healthy new growth | Show the ends and ask how the shade may fade there |
| Gray coverage | Gray can disappear under a smooth digital layer | Tell the colorist where gray is concentrated and how resistant it is |
Compare color families rather than one filter
The most sensible use of a virtual hair color try on free tool is comparison. Save a small set of controlled options: one shade close to your current color, one warmer direction, one cooler direction, and one noticeably lighter or deeper option if that is realistic. Trying fifteen unrelated colors in sequence creates a gallery, not a decision. It also makes every result feel exciting for a few seconds.
Start by comparing the temperature of the color. A neutral medium brown may make your skin look steady, while an ashy brown can bring out pinkness and a golden brown can emphasize warmth. This is not a substitute for a professional assessment, because the screen and room lighting affect the result, but it can reveal which direction makes you want to keep looking at the photo.
Then compare depth. Ask whether your face still has definition when the hair becomes very dark, and whether a pale blonde makes the brows and eyes disappear. A preview often makes a dramatic shade look cleaner than it will in real life. Write down the family and depth that appeal to you instead of copying a tiny color name that may mean something different from one salon to another.
Read the preview around bangs and layers
Hair shape changes how color is seen. A blunt bob presents a broad, uninterrupted surface, so a single shade can look dense and graphic. Long layers break the color into moving sections, while curtain bangs put a lighter or darker frame directly beside the eyes. If the digital preview keeps your current cut but you are also planning a haircut, do not assume the same color will have the same effect afterward.
Make a separate check with the hair tucked behind one ear and another with the front pieces left loose. This helps you notice whether the shade works only as a full curtain around the face. For curtain bangs, inspect the two pieces nearest the cheekbones. If the mask is weak there, the simulator may show a false solid block or fail to show how a lighter face frame would change the haircut.
Layers also expose the difference between a color and a color pattern. A flat preview can be flattering because it removes the small variations that make real hair look dimensional. If you want balayage, highlights, gray blending, or a root melt, use the try-on to choose the broad direction and use salon language to describe the placement. Do not treat a single-color slider as a technical formula.
Save notes a colorist can actually use
Before the appointment, save the original selfie beside two or three previews. Add a short note under each image: warmer or cooler, lighter or deeper, and what you like or dislike near the face. Include your current color history, even if it feels unimportant. Box dye, old bleach, a permanent dark brown, henna, and repeated toner can all change what is possible in one visit.
Use plain questions. Could this shade be reached without bleach? Would the first session show a warm orange or yellow stage? Does the darker root need gray coverage? Will the ends take the color more strongly because they are porous? A screenshot cannot answer these questions, but it can help you ask them while the idea is still specific.
Bring the photo in its original quality rather than sending only a compressed screenshot. Tell the colorist which light was used and whether the preview changed your mind about the haircut. The useful result of a free virtual hair color try-on is not certainty. It is a clearer boundary between the look you want, the version that may be achievable, and the part that needs a strand test or a slower plan.